











Information about Genuine/OEM/Aftermarket Quality iPhone Parts and Service History

At Fix Factory Canada, we give you options without compromising on quality.
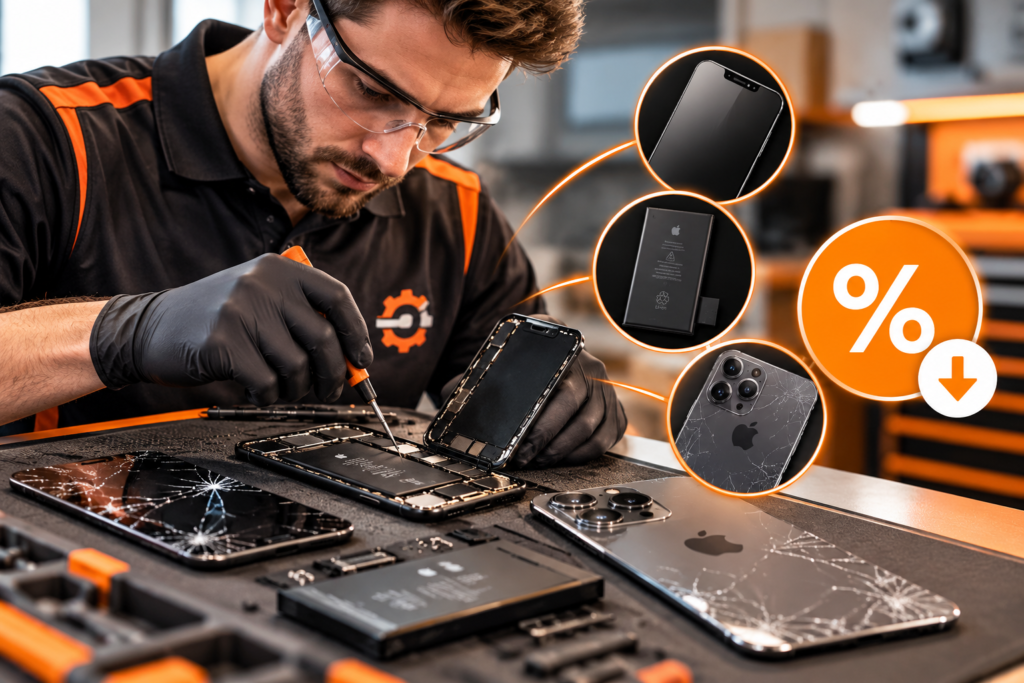
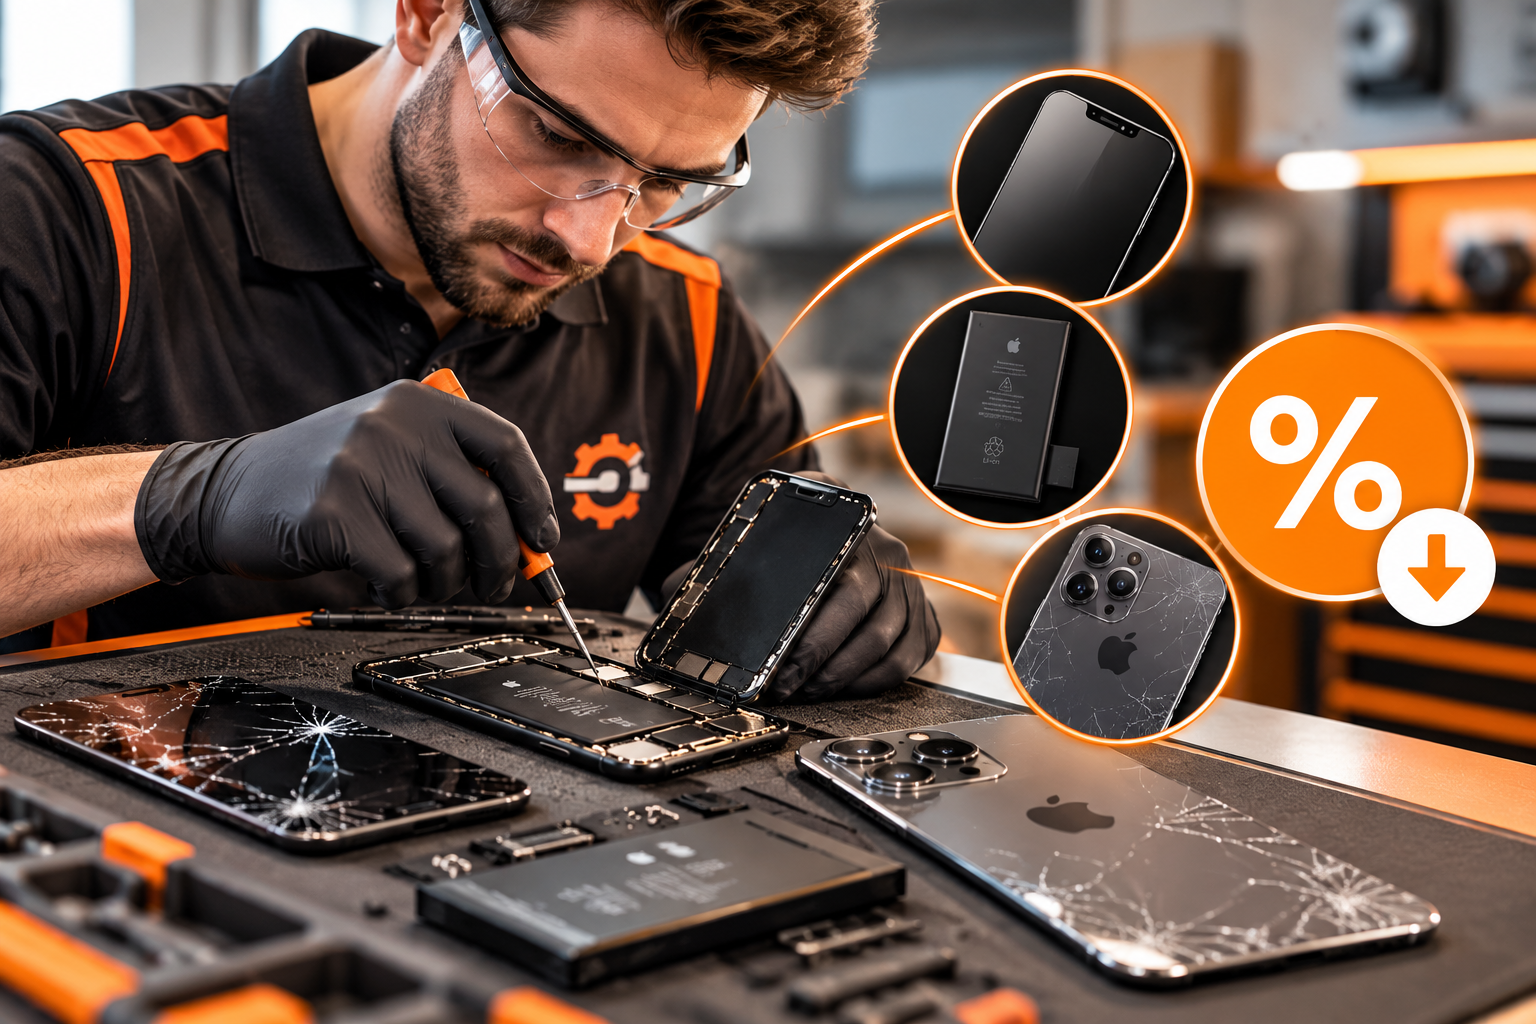
The Genuine Apple™ parts are built to Apple’s exacting standards for performance and reliability. Our Genuine / OEM / Original Quality parts are held to the same strict requirements – using premium materials, advanced manufacturing, and the same rigorous testing – often coming directly from the Original Equipment Manufacturer or as Genuine parts themselves.
For those looking for the best value without sacrificing performance in most cases, our Premium Aftermarket Quality parts deliver exceptional quality – many on par with OEM standards – matched with value-pricing.
We also use cutting-edge coding technology to ensure your device performs exactly as it should, based on its respective quality class. This means screens with crisp brightness, vivid colors, perfect white balance, and smooth, responsive Multi-Touch™ – plus full support for True Tone™, Night Shift™, and Haptic Touch™ (on never fixed iPhone 7 and newer models).
No matter which option you choose, you’ll get the performance, reliability, and attention to detail your device deserves.
You book with Us because it makes sense. You book again because it works.
–Get Fixed
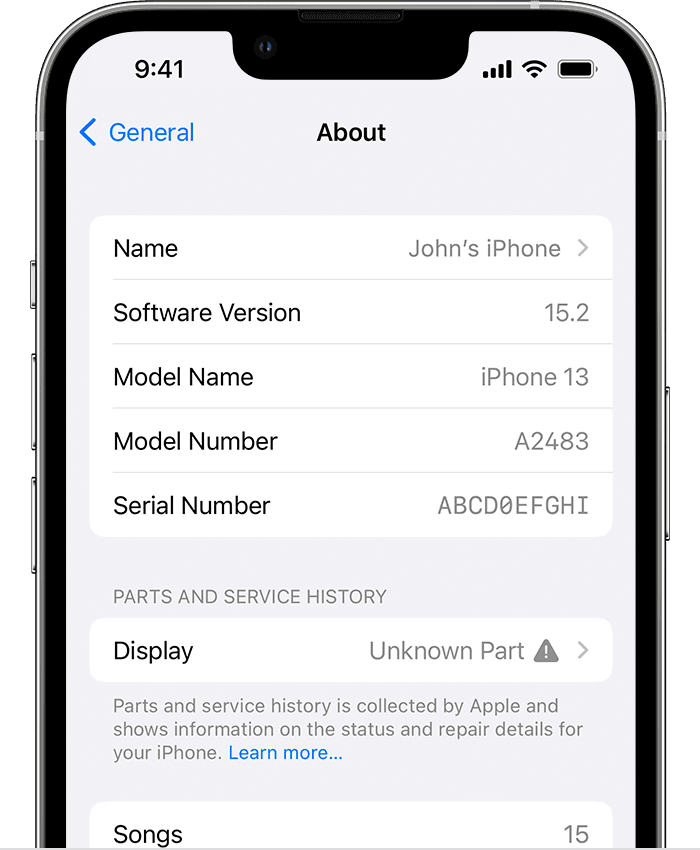
About the “Unable to Verify” Message on iOS 15.2 and Later
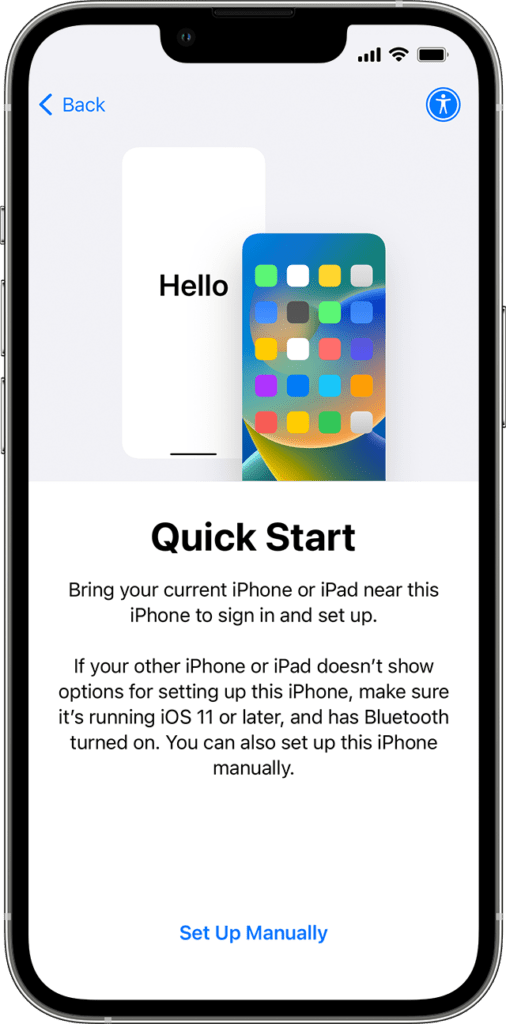
Starting with iOS 15.2, when a technician installs a replacement part – whether Genuine Apple™, OEM/Original Quality, or Premium Aftermarket—your iPhone may display an “Unable to Verify Genuine Parts” message in Settings > About. This is due to Apple’s software changes and is not an indication of poor quality or improper installation.
Currently, only Apple and its authorized service providers can remove this message using Apple’s proprietary Horizon™ Software. Even if we install a Genuine Apple™ part, the message will remain if the installation is performed outside of Apple’s network. In some cases, batteries may come pre-coded and your technician will be able to clear this “Unable to Verify” message through the ‘complete repair’ menu upon completion of part(s) installation.
What This Means for You
Performance: The message does not affect your iPhone’s functionality, performance, or features.
Compatibility: All installed parts will work as intended, supporting features such as True Tone™, Night Shift™, Haptic Touch™, and more.
Guarantee: We guarantee that the part you order is exactly what’s installed. Our OEM/Original Quality parts meet the same manufacturing specifications and quality standards as Genuine Apple™ parts—minus the Horizon™ coding.
While Apple’s stated reasons for the warning message may sound logical (e.g. “the part is not genuine”), in reality this may be more about FUD – Fear, Uncertainty, and Doubt – to discourage third-party repairs. The only way to remove the message, even on a Genuine Apple™ part installed by a third-party repair shop, is through Apple’s coding system, or install pre-coded parts that are compatible with your device.
We appreciate your trust in Fix Factory Canada and remain committed to giving you the highest-quality parts, honest information, and exceptional service.
You may read more about this parts and service history message on the Apple Support Pages: https://support.apple.com/en-us/HT212878 & https://support.apple.com/en-us/HT210321